School Branding Blog
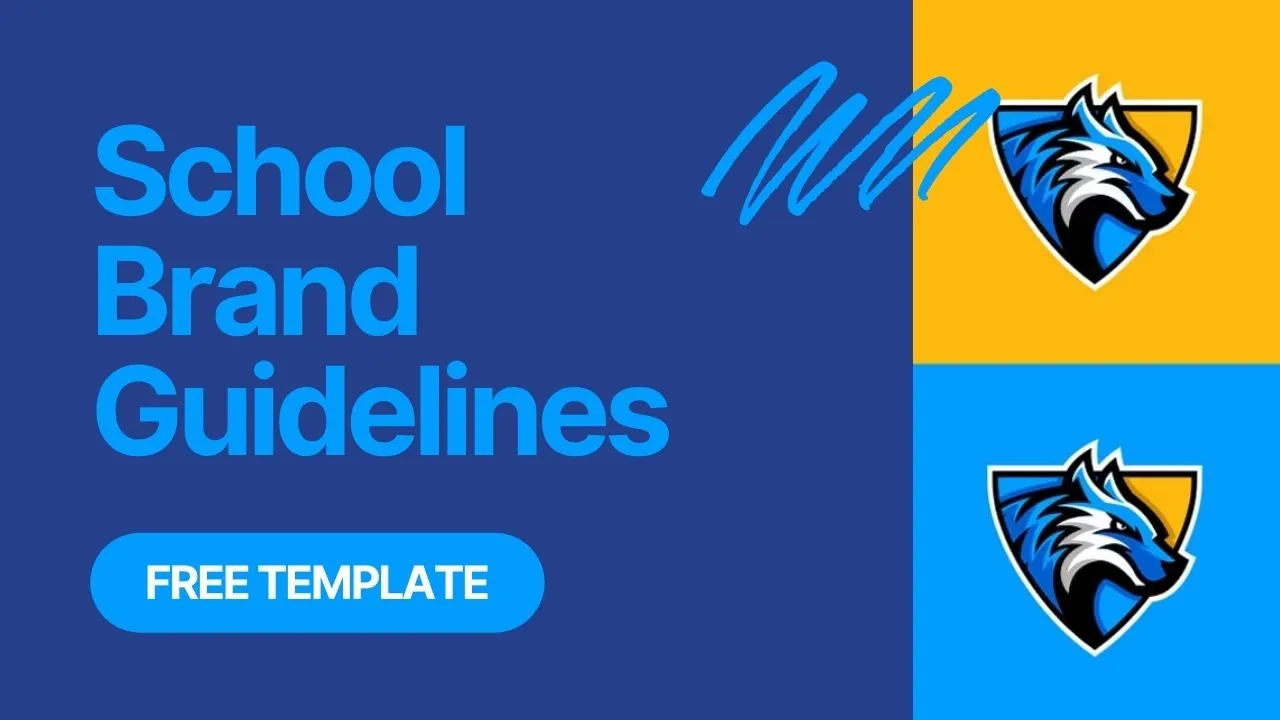
School Brand Guidelines: What to Include (+ Free Template)
Clear brand guidelines stop the “which logo do we use?” emails and help boosters and vendors get things right the first time. Use this outline to create a practical, short document your staff will actually open. For a deeper look at why guidelines are the most undervalued asset in school branding, read our full guide on protecting your brand identity investment.
Core Components
Think of this as the minimum kit. Keep it short and show pictures where possible.
- Logo family: primary, horizontal, one‑color, and clear‑space/minimum size
- Color system: primary/secondary with PMS/CMYK/RGB/HEX
- Typography: display, body, numbers; web and print fallbacks
- Mascot marks: academic vs athletic usage, lockups, and spirit marks
- Photography/graphics: tone, composition, backgrounds, and icon style
What this looks like in practice
Staff should be able to open a single page and see “this is the logo we use on letterhead,” “this is the one‑color version for embroidery,” and “this is how much space goes around it.” The goal is not a coffee‑table book; it’s a quick reference people actually use.
Common mistakes (and fixes)
- Too many versions of the logo → keep one primary and one horizontal fallback.
- No one‑color art → export and test a true one‑color version for vinyl/embroidery.
- Missing minimum size → show a real example (e.g., “don’t go smaller than 0.75 in”).
Quick win
Add a one‑page “front cover” with the five items above and links to files. Most requests never need to go deeper.
Athletics vs Academics (One System, Two Contexts)
One system, two settings. The same identity should feel confident on a jersey and clear in a classroom handout.
- Athletics: distance legibility, simplified marks, number/wordmark pairing
- Academics: accessibility, body copy legibility, header styles, seal usage
- Shared assets: color harmonization and shared typography
Examples
- Jerseys: bold numbers, simplified mascot, high contrast colors.
- Classroom handouts: readable headings, body fonts sized for long reading, proper line spacing.
- District website: same color spine and typography so families sense unity across campuses.
File Formats Vendors Need
If you only include one section, make it this one. These are the files printers and uniform vendors ask for.
- Vector master: AI/EPS/SVG (logo + mascot) with outlined fonts
- Web: PNG/WebP/SVG; Print: PDF/TIFF
- One‑color and reversed versions for embroidery/vinyl/paint
Vendor checklist
Share a ZIP per school with folders named “Logos,” “Mascot,” “One‑Color,” and “Guidelines.” Include a one‑page PDF that lists the right color codes and a contact for questions. This prevents redraws and rush fees.
Governance & Requests
Tell people where to get files and who says “yes.” A simple process avoids one‑off artwork and keeps quality high.
- Who approves new marks; where to request files; expected turnaround
- Template library: letterhead, slide deck, social headers, signage
Simple process
- Requests come through one short form.
- A small review group replies within 2–3 business days.
- Approved files are stored in a shared folder; links never change.
This keeps the brand moving without slowing coaches and office staff.
Downloadable Outline
Copy this structure into your doc, then add screenshots for each rule:
- Introduction and purpose
- Logo family (+ clear‑space/min size)
- Colors (+ accessibility notes)
- Typography (+ usage examples)
- Mascot/mark usage (athletics vs academics)
- Photography/graphics style
- Templates & examples
- Governance, requests, and contact
Build yours in a week (realistic plan)
- Day 1: Collect current logos, colors, type, and 10 common use‑cases (letterhead, jerseys, social header, newsletter, banners).
- Day 2: Decide on one primary logo and one horizontal fallback; export one‑color.
- Day 3: Finalize colors (PMS/CMYK/RGB/HEX) and two typefaces (display + body). Test legibility.
- Day 4: Draft the one‑page quick reference; drop in real screenshots.
- Day 5: Write the governance and request steps (4–6 sentences total).
- Day 6–7: Share with two coaches and one office admin; fix anything unclear.
You now have a usable v1. Improve it over time—don’t wait for perfect.
Next Steps
Want a ready‑to‑use manual with vendor‑ready files? See our visual identity service and get a quote. View real outcomes in our case studies.
Get the Free Brand Guidelines Template (PDF)
Fill the form and we’ll email you the PDF instantly.
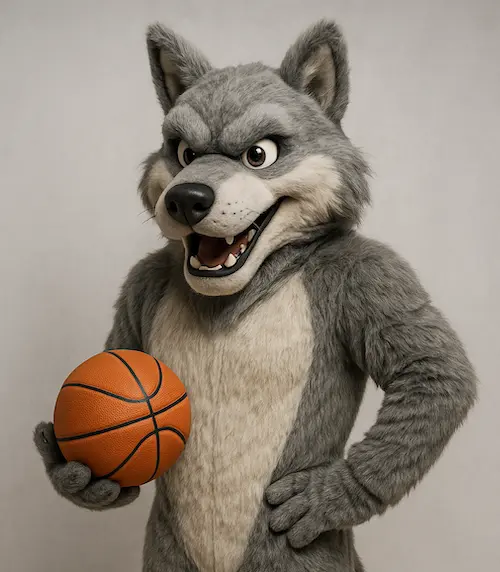
We Build and Manufacture Mascot Costumes
A professionally built mascot costume creates unforgettable moments at games, rallies, and community events.
See Full Details →
Design to Delivery
We manage everything
6-12 Week Delivery
In time for your season
Safety First
Ventilation & visibility
Custom Projects
Professional quality
About Mash Bonigala

Mash Bonigala is the Founder & CEO of School Branding Agency. Over the past 15 years, he's helped 250+ K-12 schools transform their brand identity and drive enrollment growth. From charter schools to public districts, Mash specializes in creating mascot systems and brand strategies that rally communities, boost school spirit, and convert prospects into enrolled families. Schedule a Zoom call to discuss your school →
Mascot logo design
Get an enrollment-ready mascot your community loves
Start with our mascot logo design service. We’ll craft a distinctive, on‑brand mascot system and rollout plan tailored for your school.
Get a Free ConsultationRelated
Charter Application Branding - Professional Identity for Authorizer Approval
Professional charter application branding that demonstrates operational readiness to authorizers. Complete brand identity, website, and application materials. Charter-specific packages for charter schools.
View detailsRelated
Charter School Branding - Mascots & Identity (2025)
We help charter schools build mascots and identity systems that rally communities and support enrollment. See packages and proof.
View details